
In the previous post in this series I got started with Azure. In this post I’ll attempt to deploy the site.
Now that we have the database set up, we can move onto deploying the site.
Third stop: Azure portal again.
I used the quickstart to add a publish pipeline in Devops. This turned out to be a straight failure due to the code being unpublished.
Instead of creating the release pipeline for publishing like I should, for the meantime I decided to just deploy manually and directly from VS. This needs no explanation as it’s quite obvious the steps needed to do this.
Publish > Azure > Azure App Service > Sign in & go.
When setting up the profile, ensure that the ‘Apply this migration on publish’ checkbox is selected if you want to automatically do the migrations for you. This saves having to change the code in startup to do the migration from the Package Manager Console.
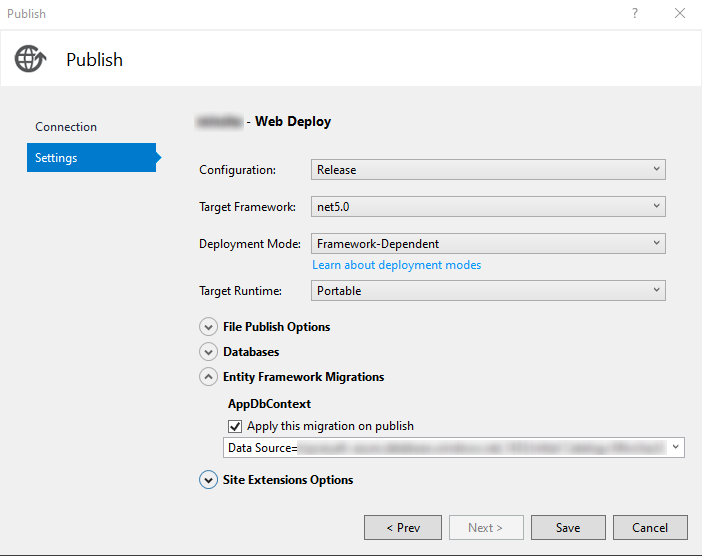
I get a warning on the publish page to configure the ‘Secrets’ and the local database, for publishing to Azure. It seems to work without configuring it, (and even caused problems when I did try to) so I just left it as is.
One of the nice things is that Azure uploads all the files to the server whilst the site is still running. Then when they’re all done it restarts the site which basically means the site reloads on the user without ever being down. By doing this is it bypasses the issue of IIS locking files whilst they’re in use.
In part 4 we’ll take a look at adding a custom domain name.